
Upcycled Home Decor has never been easier!

Welcome to the Ann Butler Designs/ETI Blog Hop! Please visit each blog and leave a comment to be entered for the blog candy. YES, a comment on EACH blog gets you an entry for the BLOG CANDY shown below! Share the fun with your friends! We will Pick the winner on Saturday, December 20th and it will be announced on the Ann Butler Blog and ETI Resin blog! Again, make sure and visit all the links and leave a comment. Sorry, only US residents are elligible on this draw. But please don't let that stop you from commenting on how awesome these projects are!!!
 |
| Great prize! The winner will receive:
EasyCast Clear Casting Epoxy
EnviroTex® Jewelry Resin
Resin Jewelry Mold
Castin' Craft Resin Spray
2 Castin' Craft pigments
all 4 of Ann Butler Designs 1" Faux Quilting Stamp Sets
|
Here is my project for the hop:
 | |||
| I took my thrift shop find: a candleholder for $4.99 |
and turned it into this:

 | ||||||||
The palette |
Supplies:
- Unity 2" Diamonds & Plaid Faux quilting stamps by Ann Butler
- Earth Safe Finishes Ann Butler Iridescents, aquamarine
- Earth Safe Finishes, silver
- ColorBox® Crafters' Ink, Night
- ColorBox® Ann Butler Crafters' Ink, Aquamarine
- ETI Ultra-Seal
- Castin' Craft Resin Spray, clear gloss
- Envirotex Lite®
- Makins Clay
- Americana® Decor™ Chalky Finish paint, Primitive, Escape
- Deco Art Dazzling metallics, Peacock Pearl and Dark Patina
- mica flakes, gold,bronze,silver
- Martha Stewart Crafts™ glitter, Florentine Gold Ball
- Recollections™ tinsel embossing powder, marine
- Ranger Ice Stickles™
Instructions
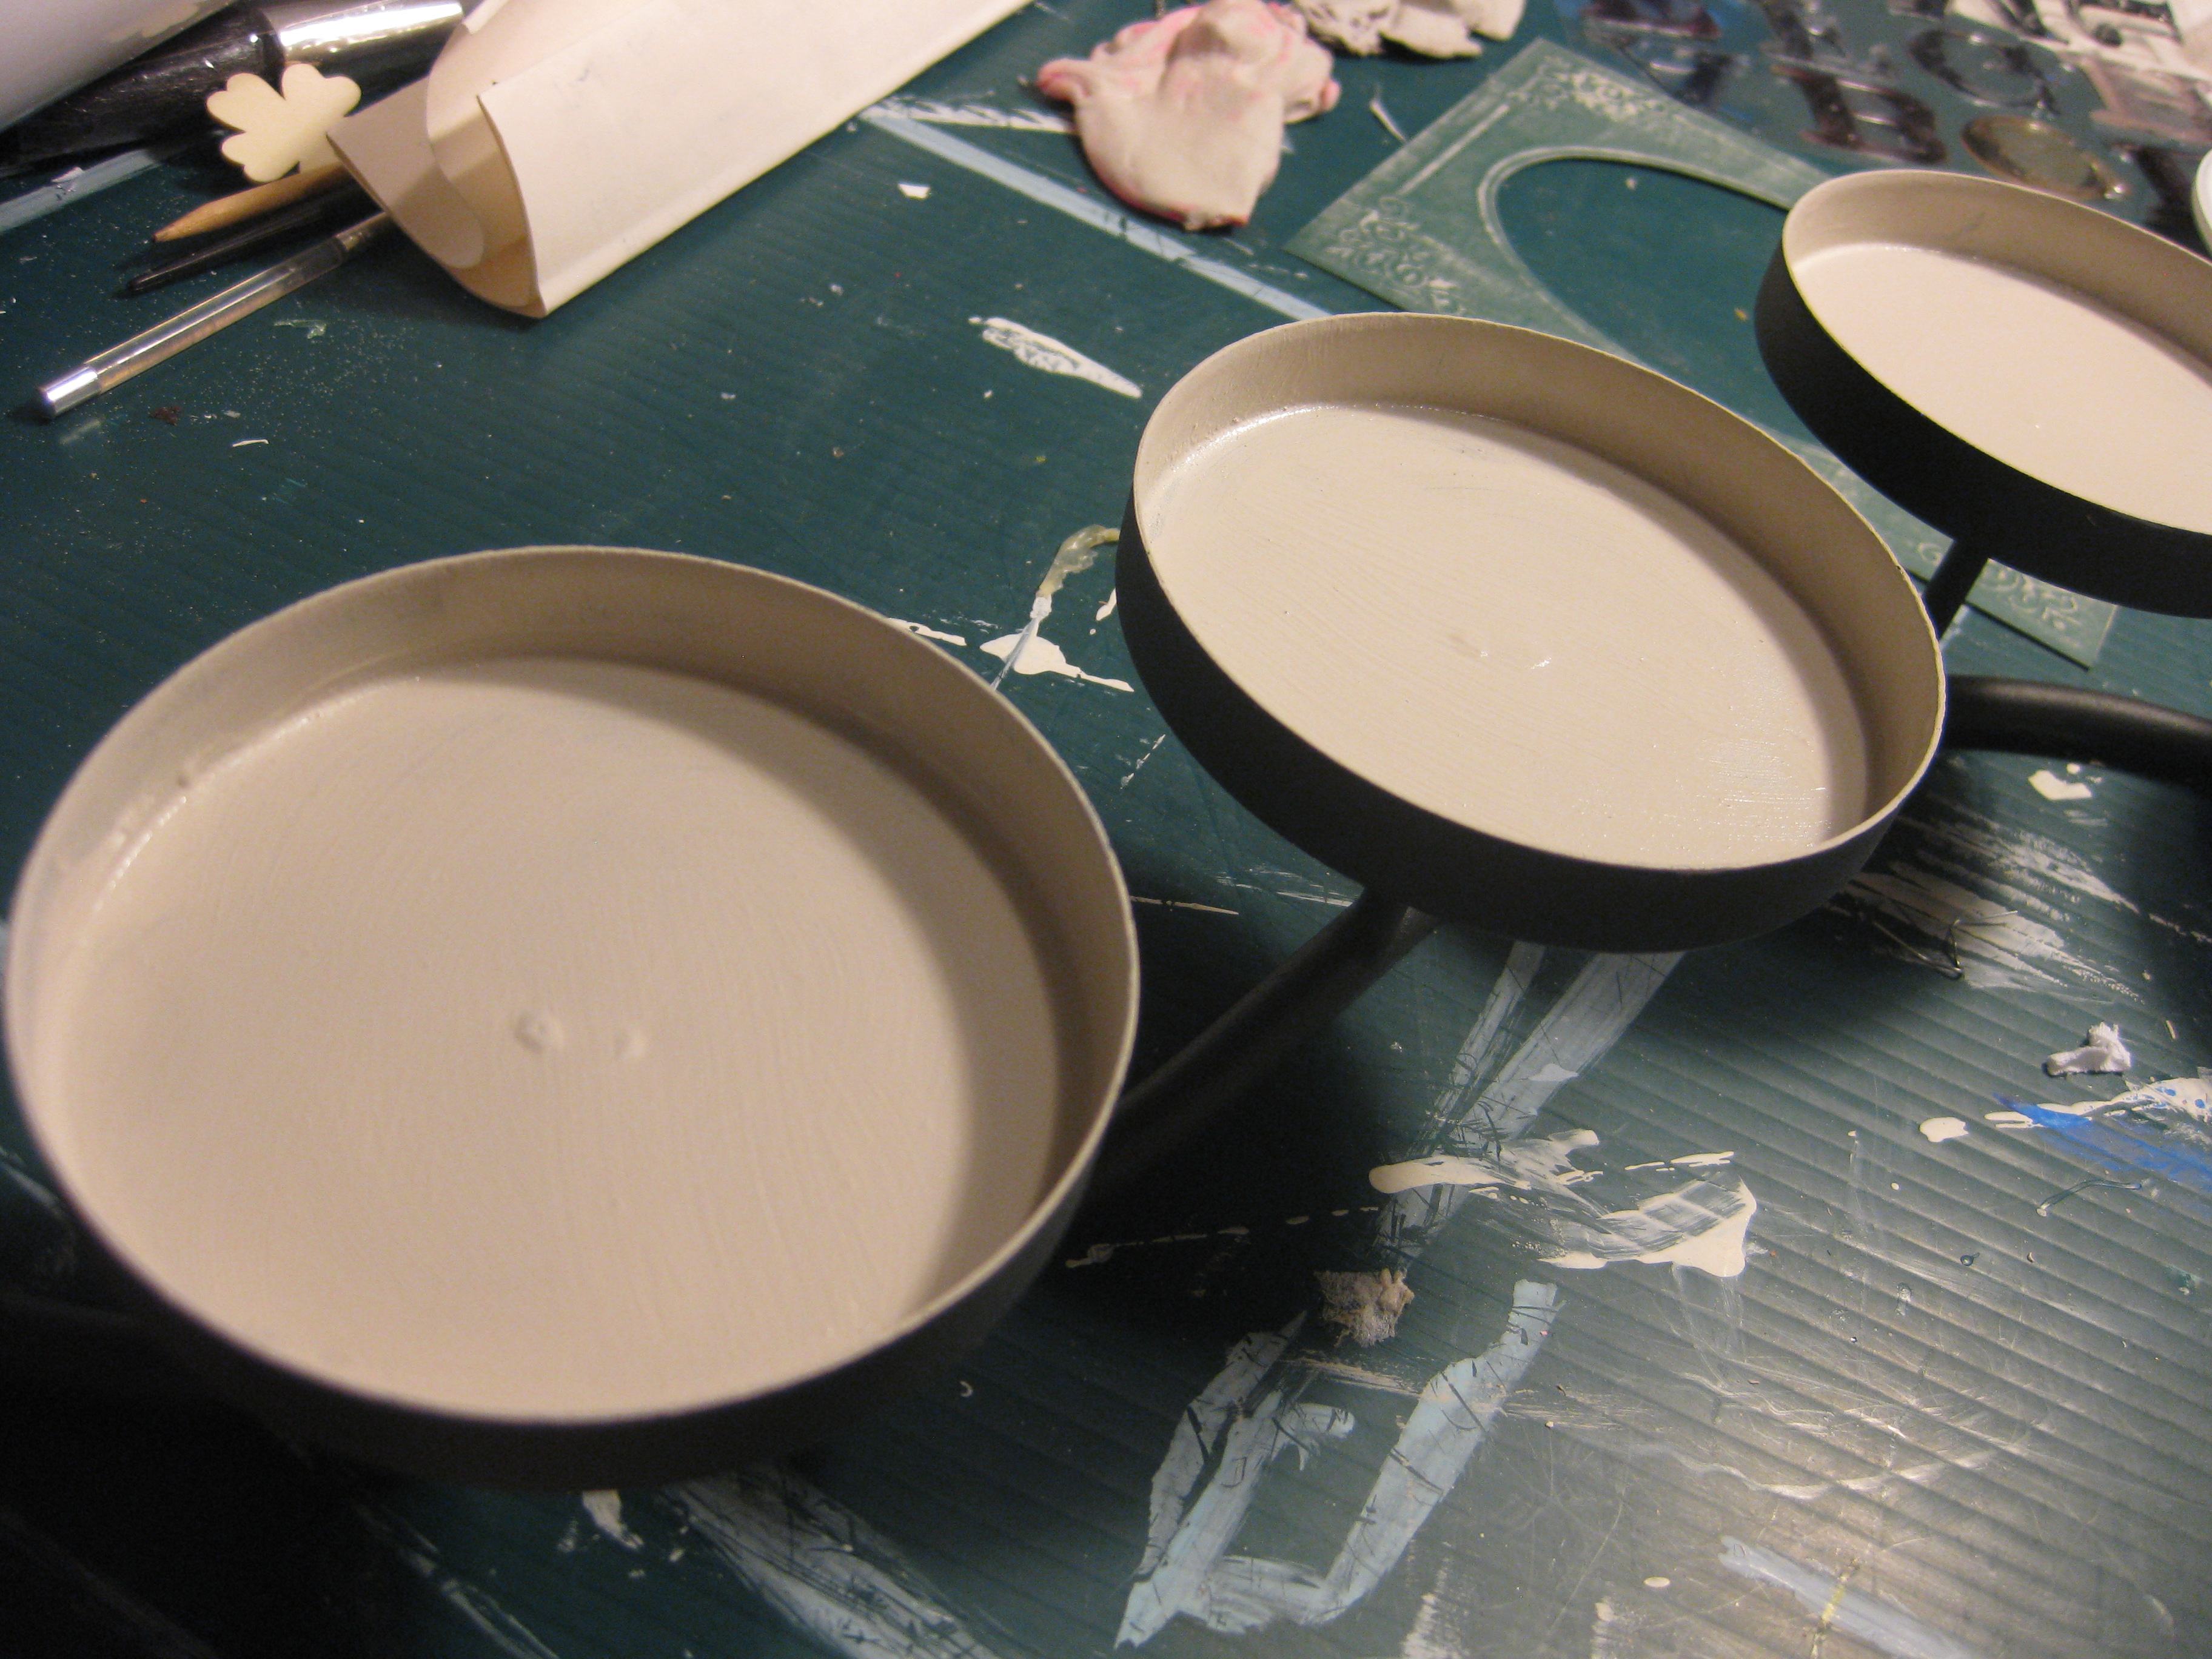
- Clean the candleholder to remove dirt and dust.
- Paint the insides with Americana® Decor™ Chalky Finish, primitive. I used an Americana® Decor™ 1" angle brush and it was perfect.
I figured I would need a light background. Black would be tricky not knowing where the piece will go and what kind of lighting would be in the room. I also want the embellishments and resin to show up.
Paint with Primitive
paint full base if no paper is being laid. Paint around the circumference if paper is being used.
stamp paper and then cut out your circles
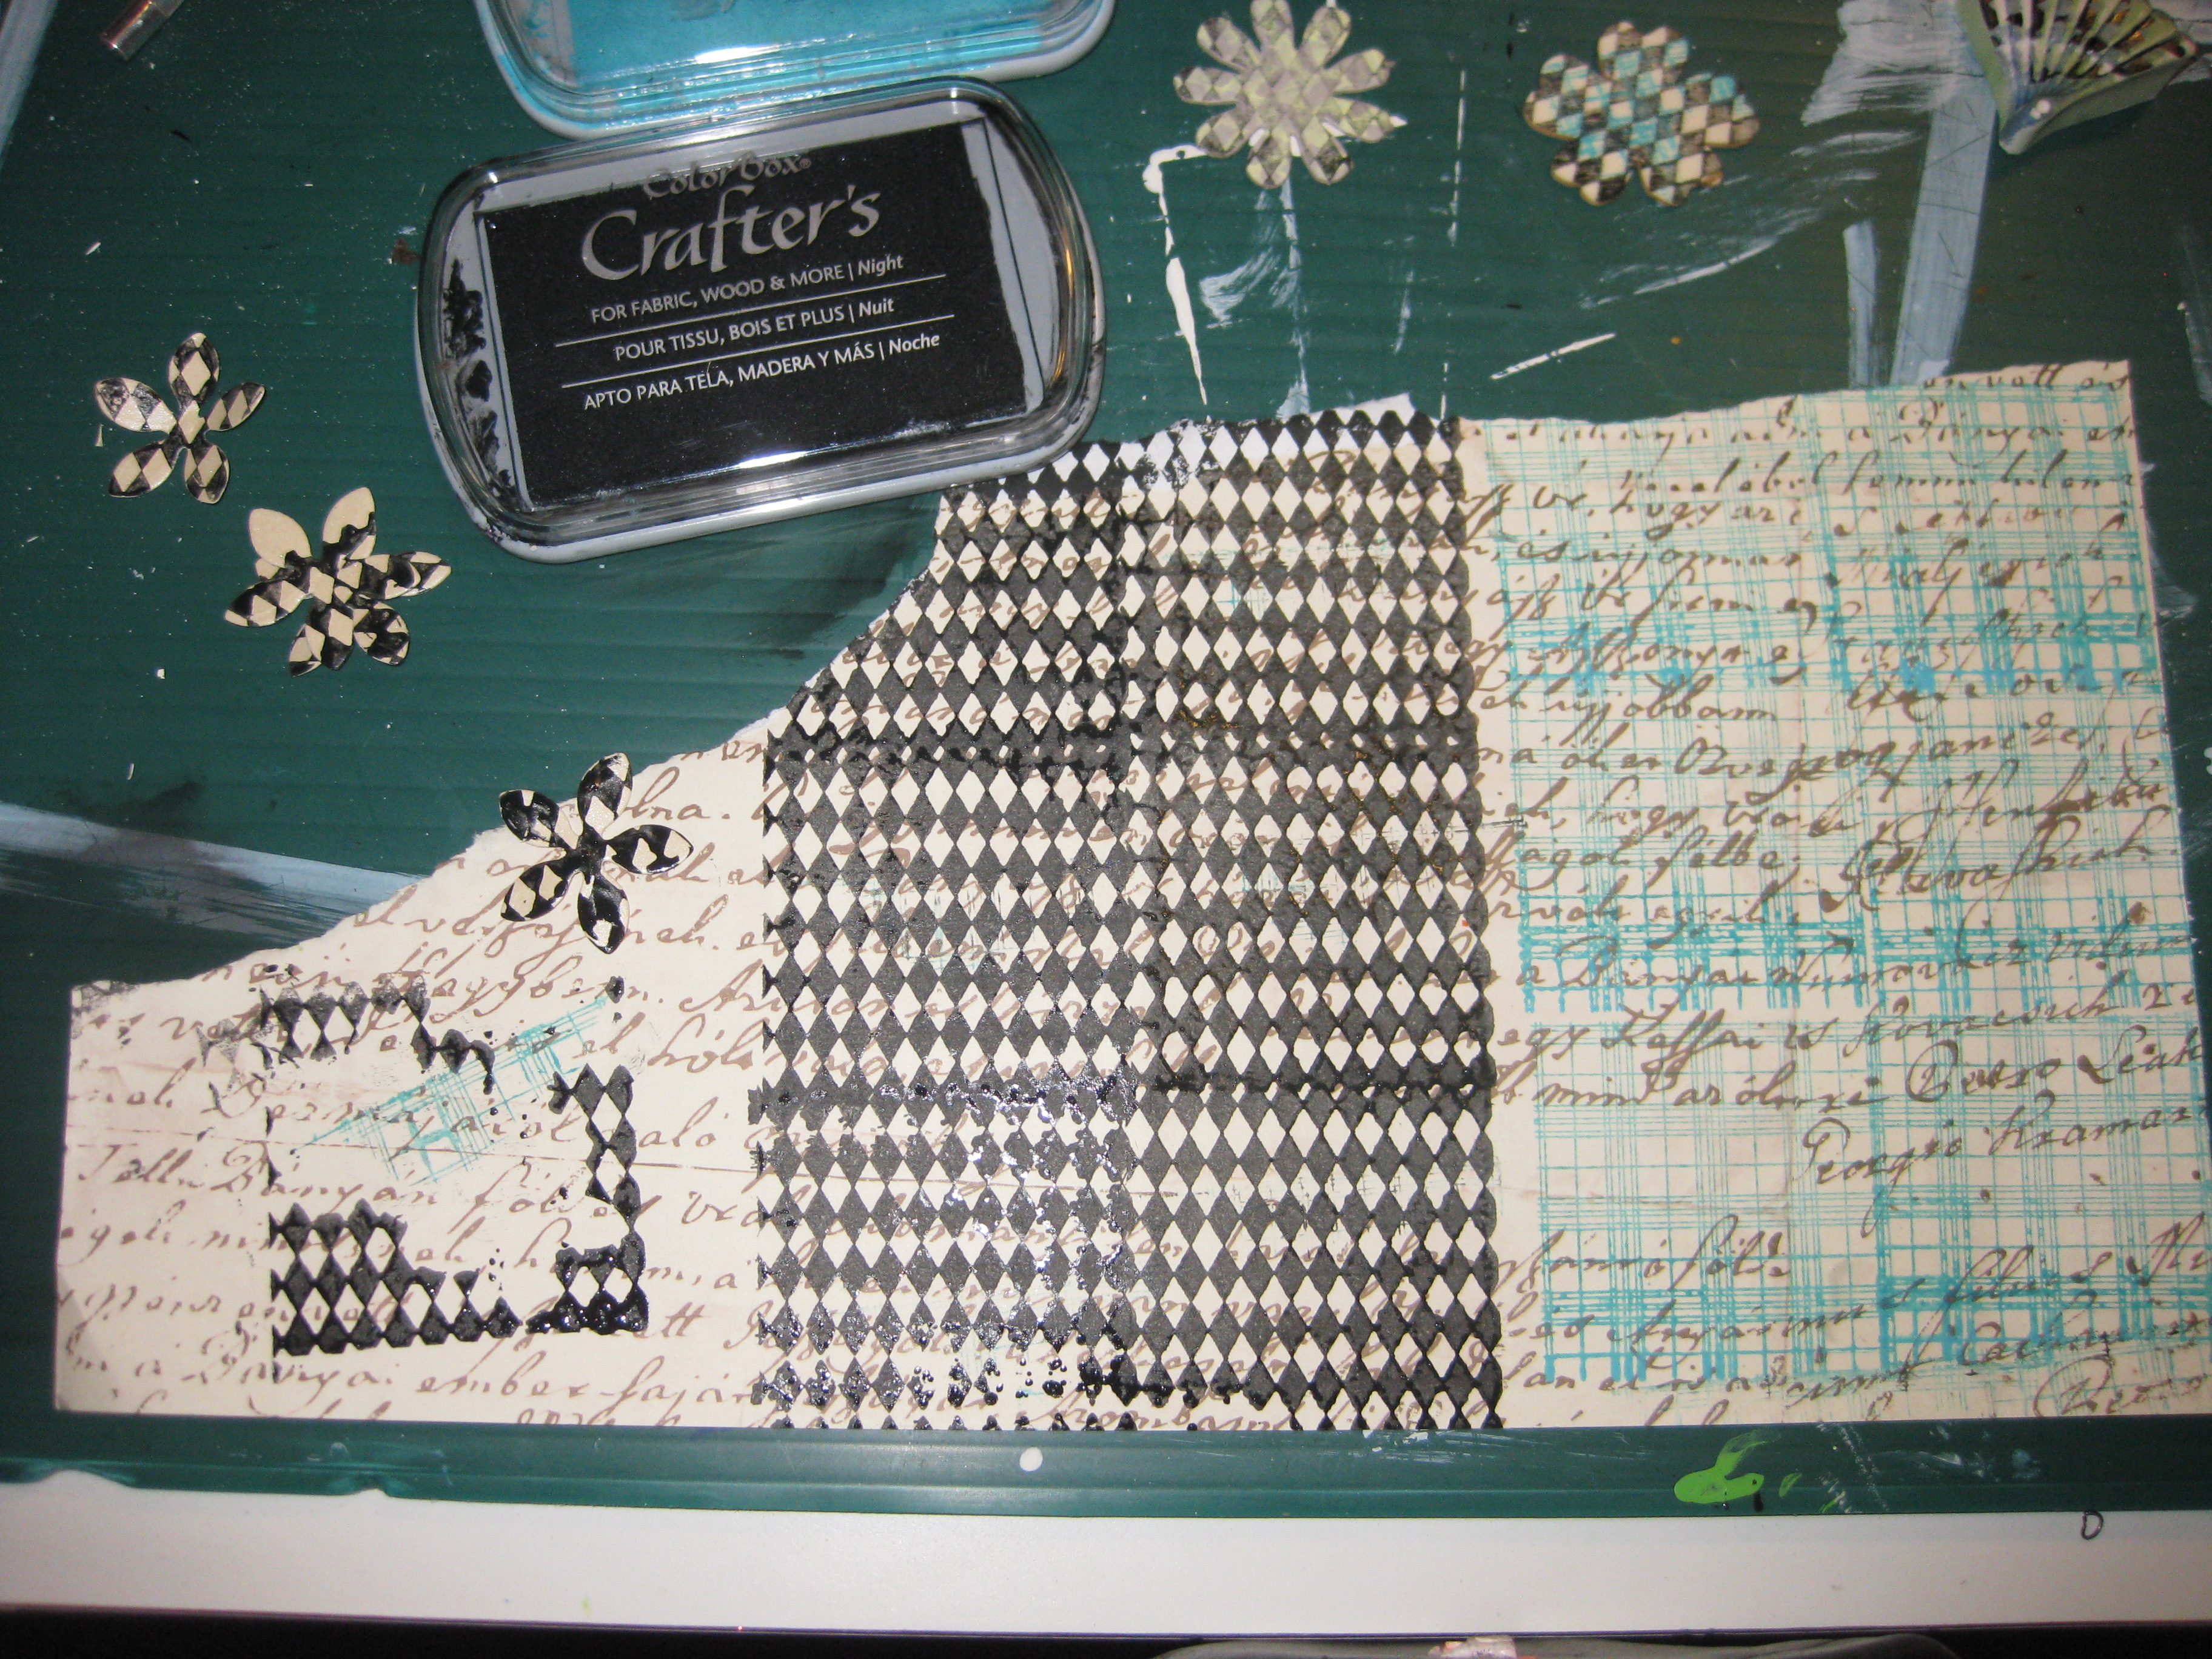
- Measure and cut scrapbooking paper to fit inside the circles.
- You will then stamp the circle backgrounds with the black and aquamarine ColorBox® Crafters' Ink and 2"Diamonds & Plaid Faux quilting stamps by Ann Butler.
- When the ink is mostly dry, sprinkle Recollections™ embossing powder and heat set.
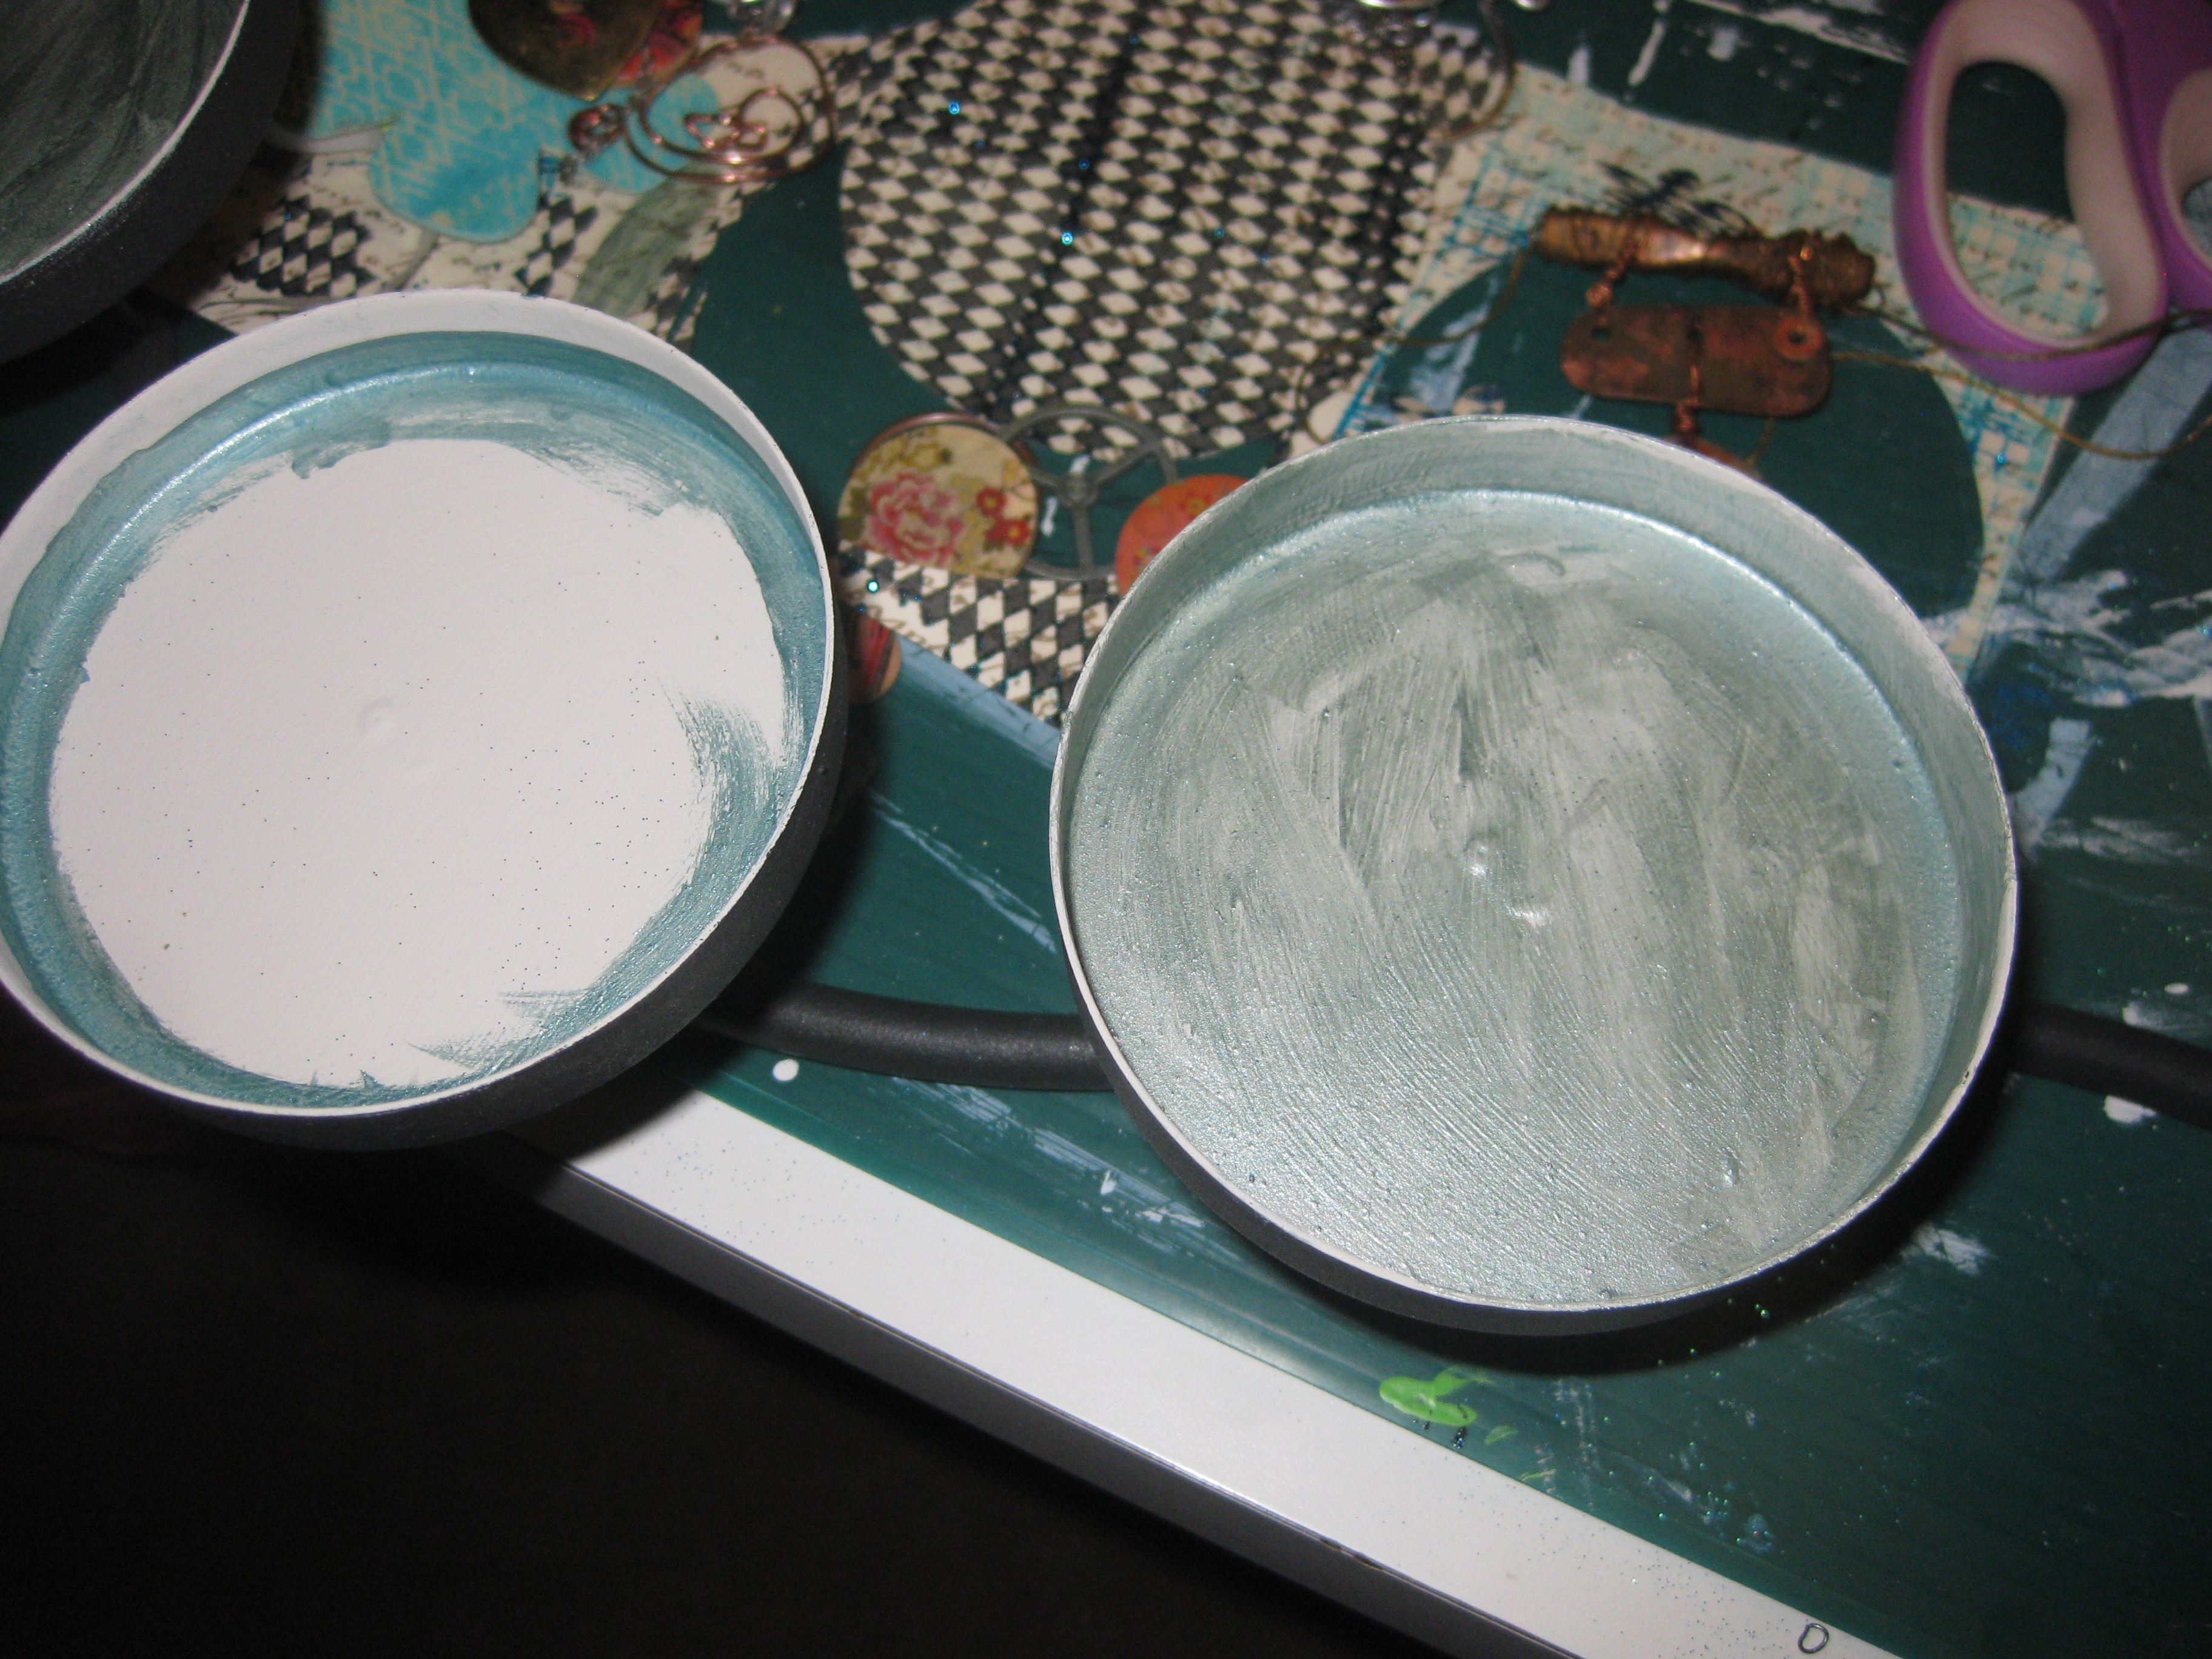
- Paint the base of the paperless circles with Dark Patina metallic paint and then, using the Peacock Pearl, paint around the inner circumference of the circle for all the paper units ( so there will be a gentle highlight and border around the paper).
- Seal all porous items with Castin Craft Resin Spray and let dry.
- Use Ultra-Seal like a decoupage medium and paint a thin layer on base of the circles where you will be applying paper.
Remember to push out air bubbles as you press down and along the paper.
- Take the tart tin, turn it upside down to flatten, and then shape it.
- Paint with Iridescents aquamarine and Earth Safe Finishes silver.
- Add Martha Stewart Crafts ™ Florentine glitter and let everything dry
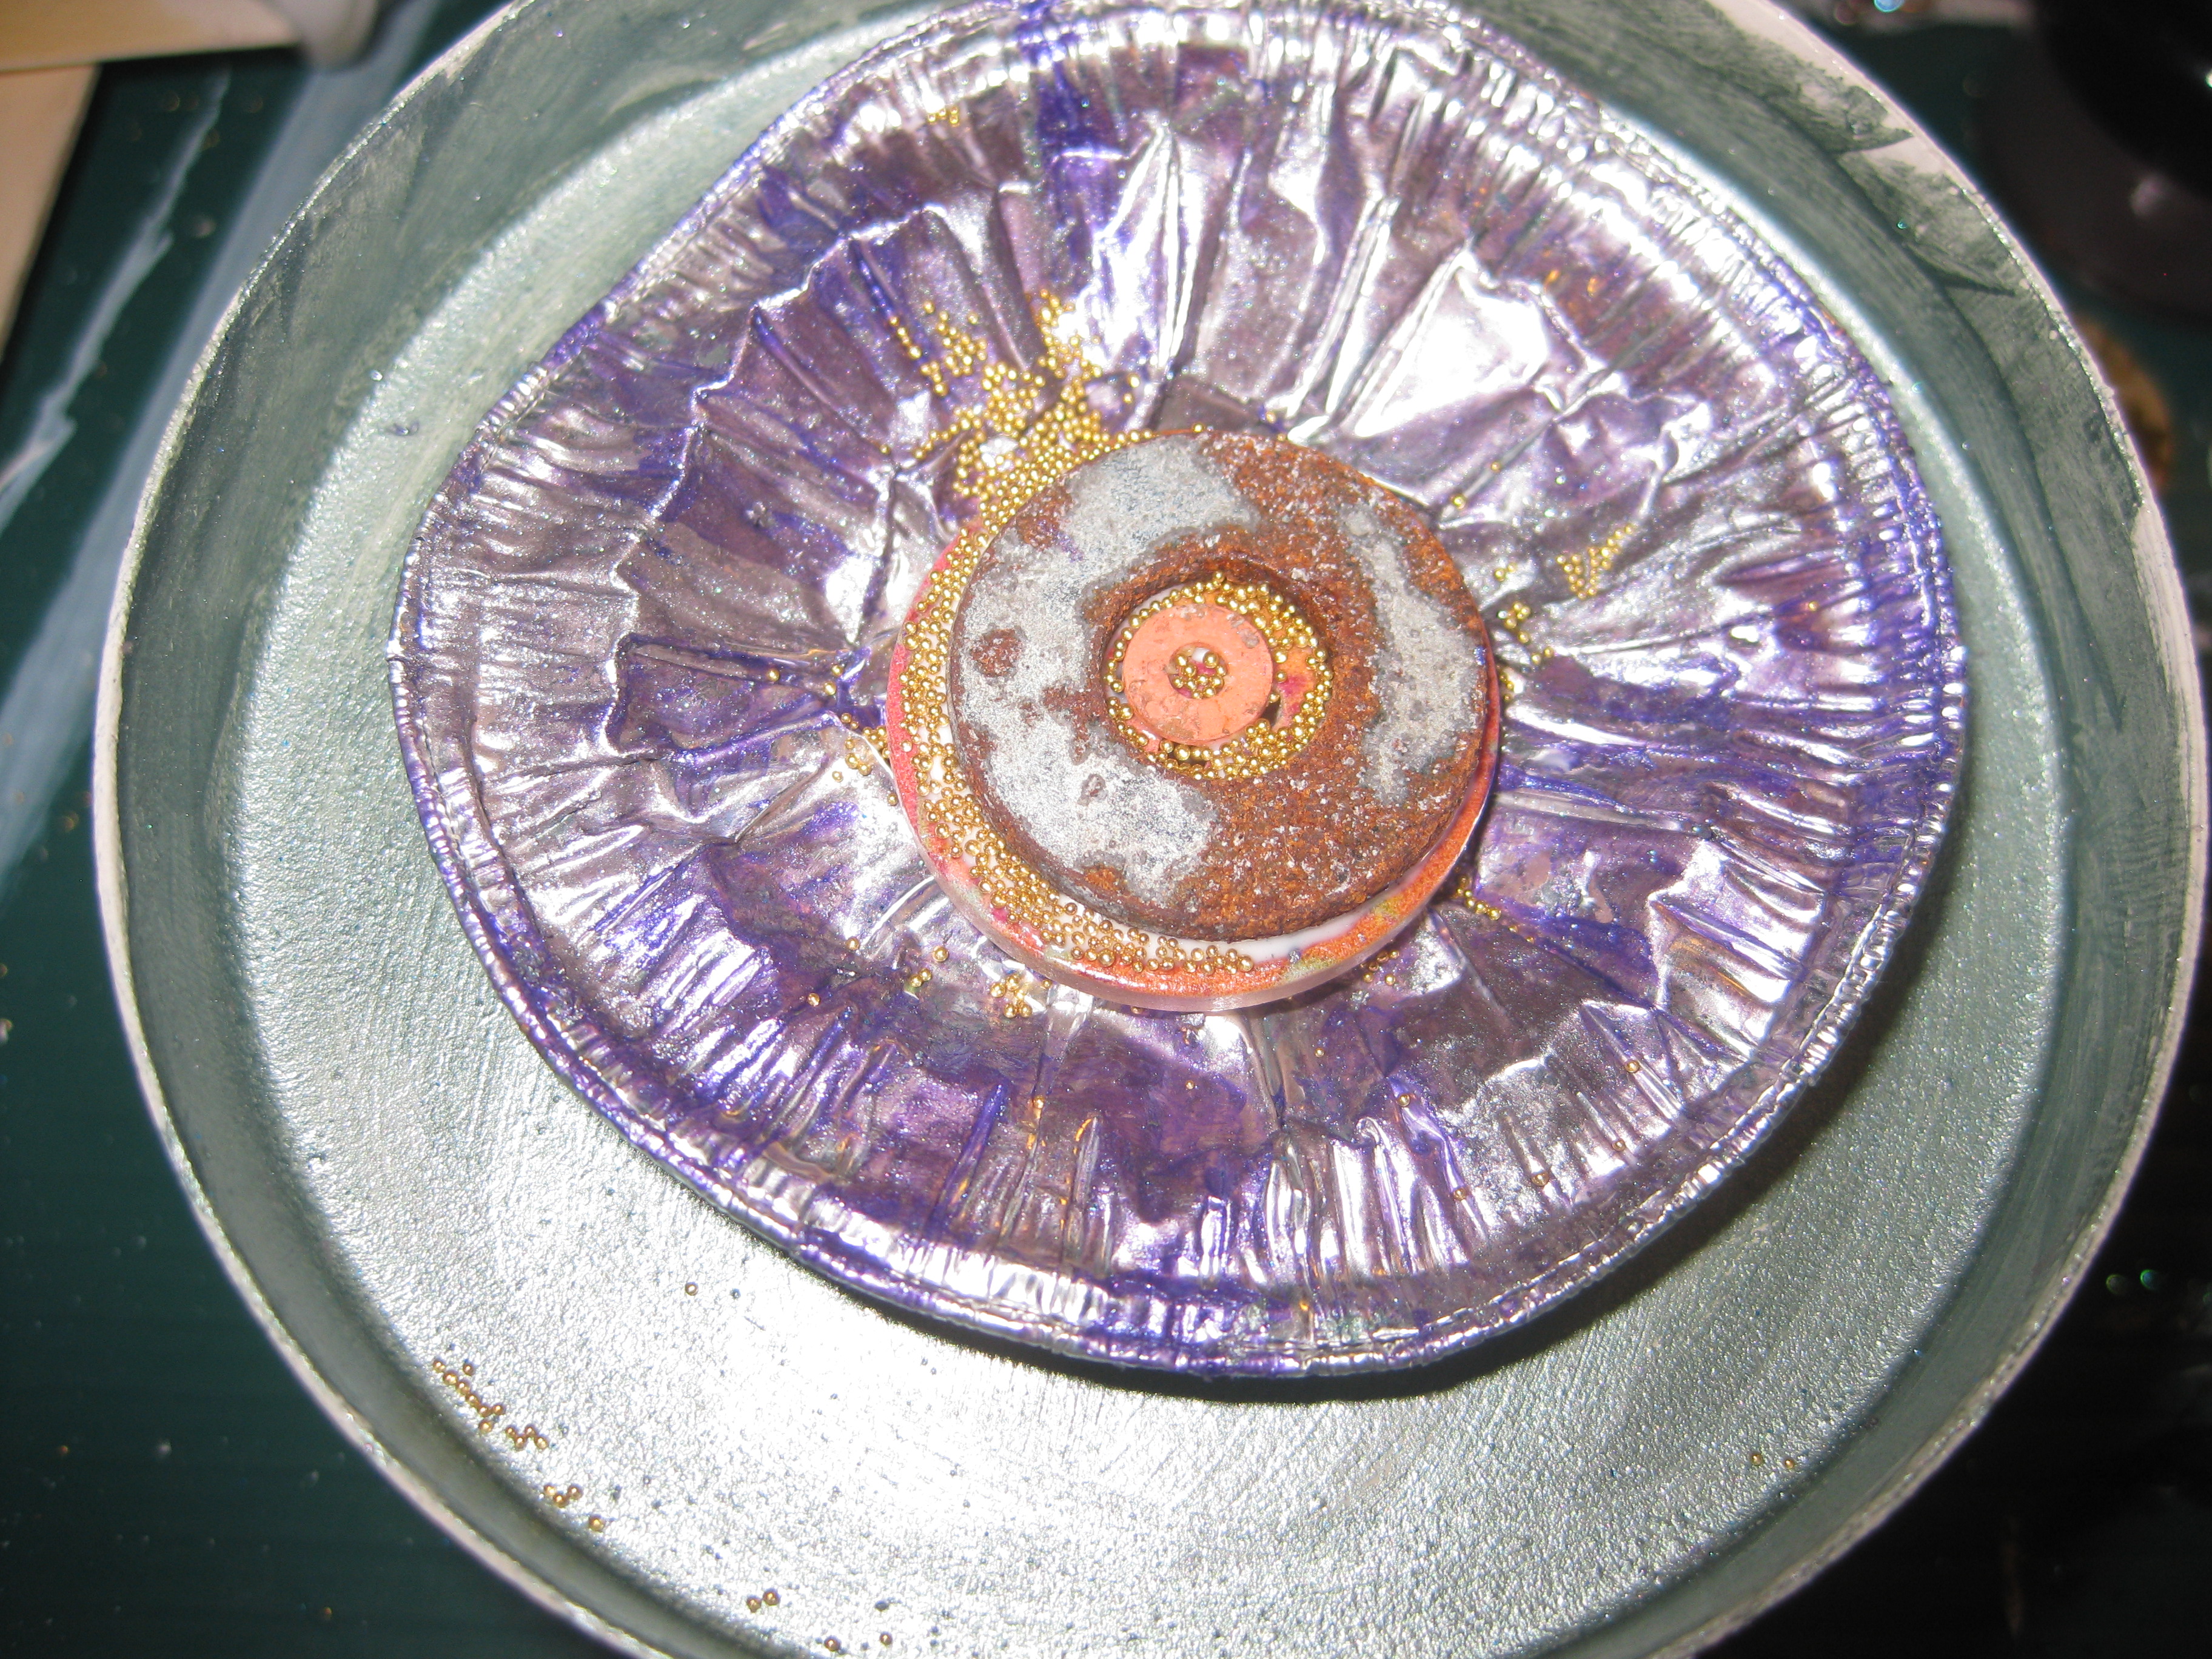
I had a lot of fun making the metal objects for my wall art. Encasing favorite objects in resin is a wonderful way to preserve and enjoy cherished objects.
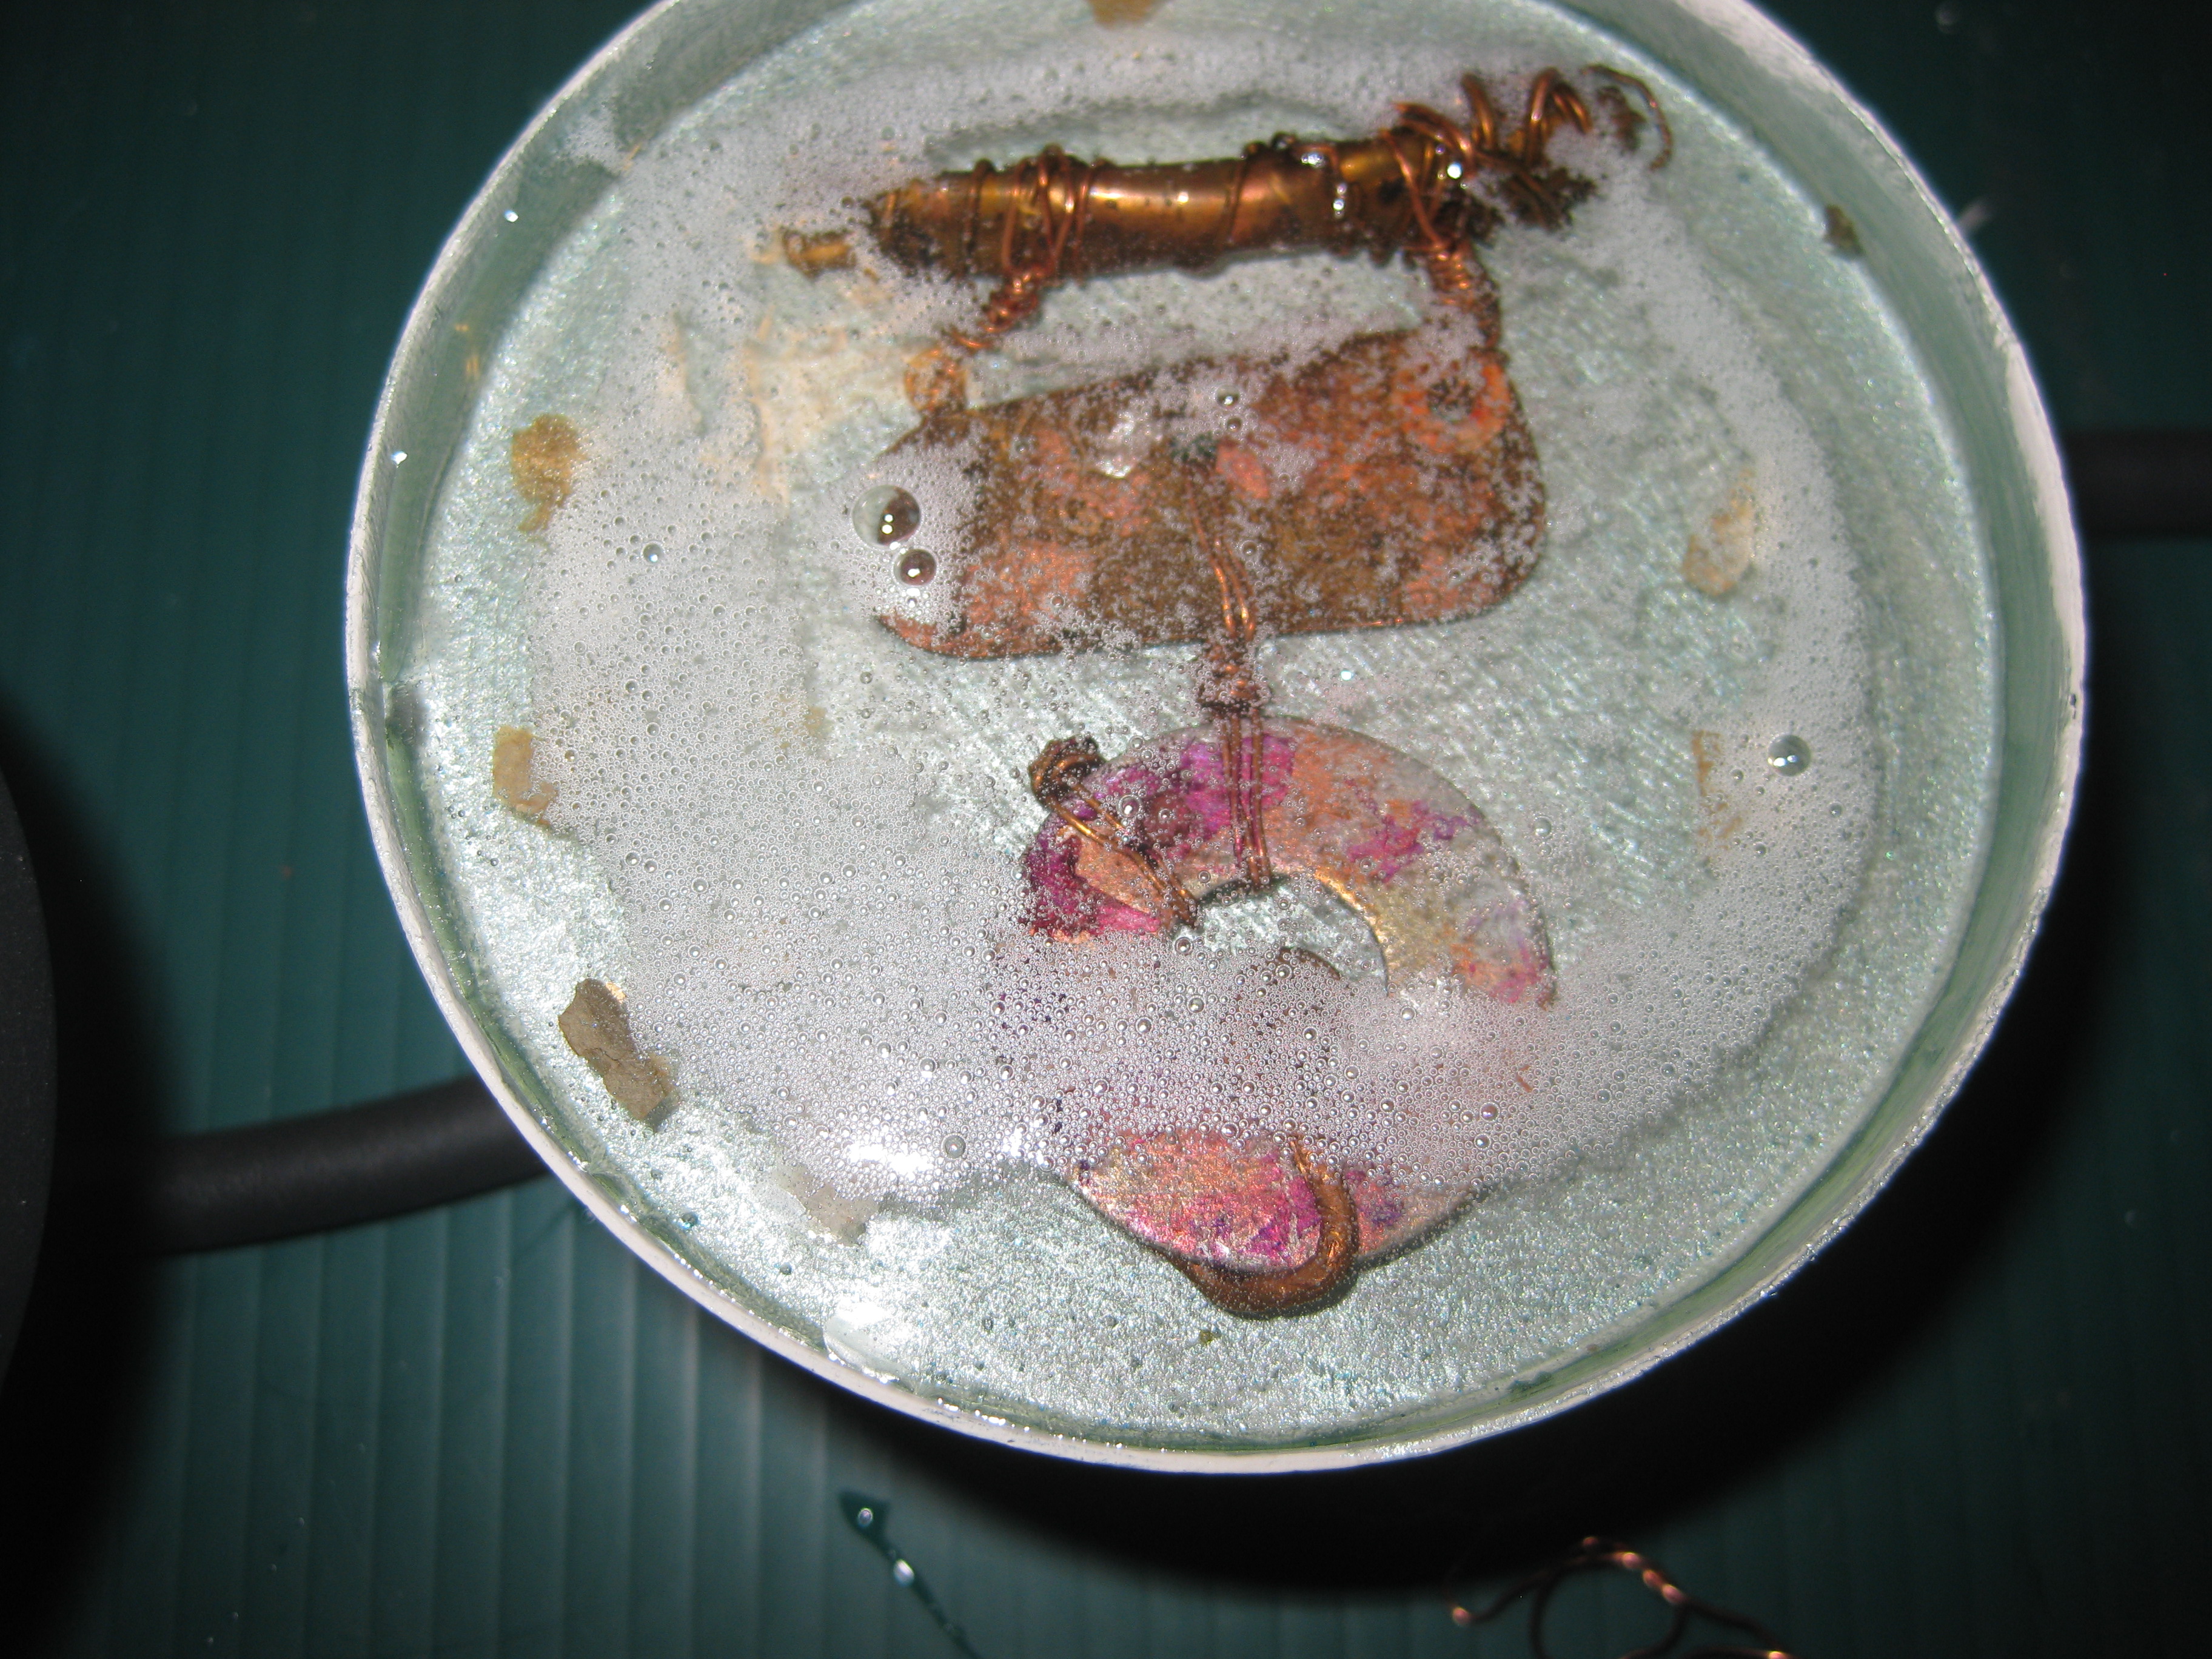
After 10 minutes
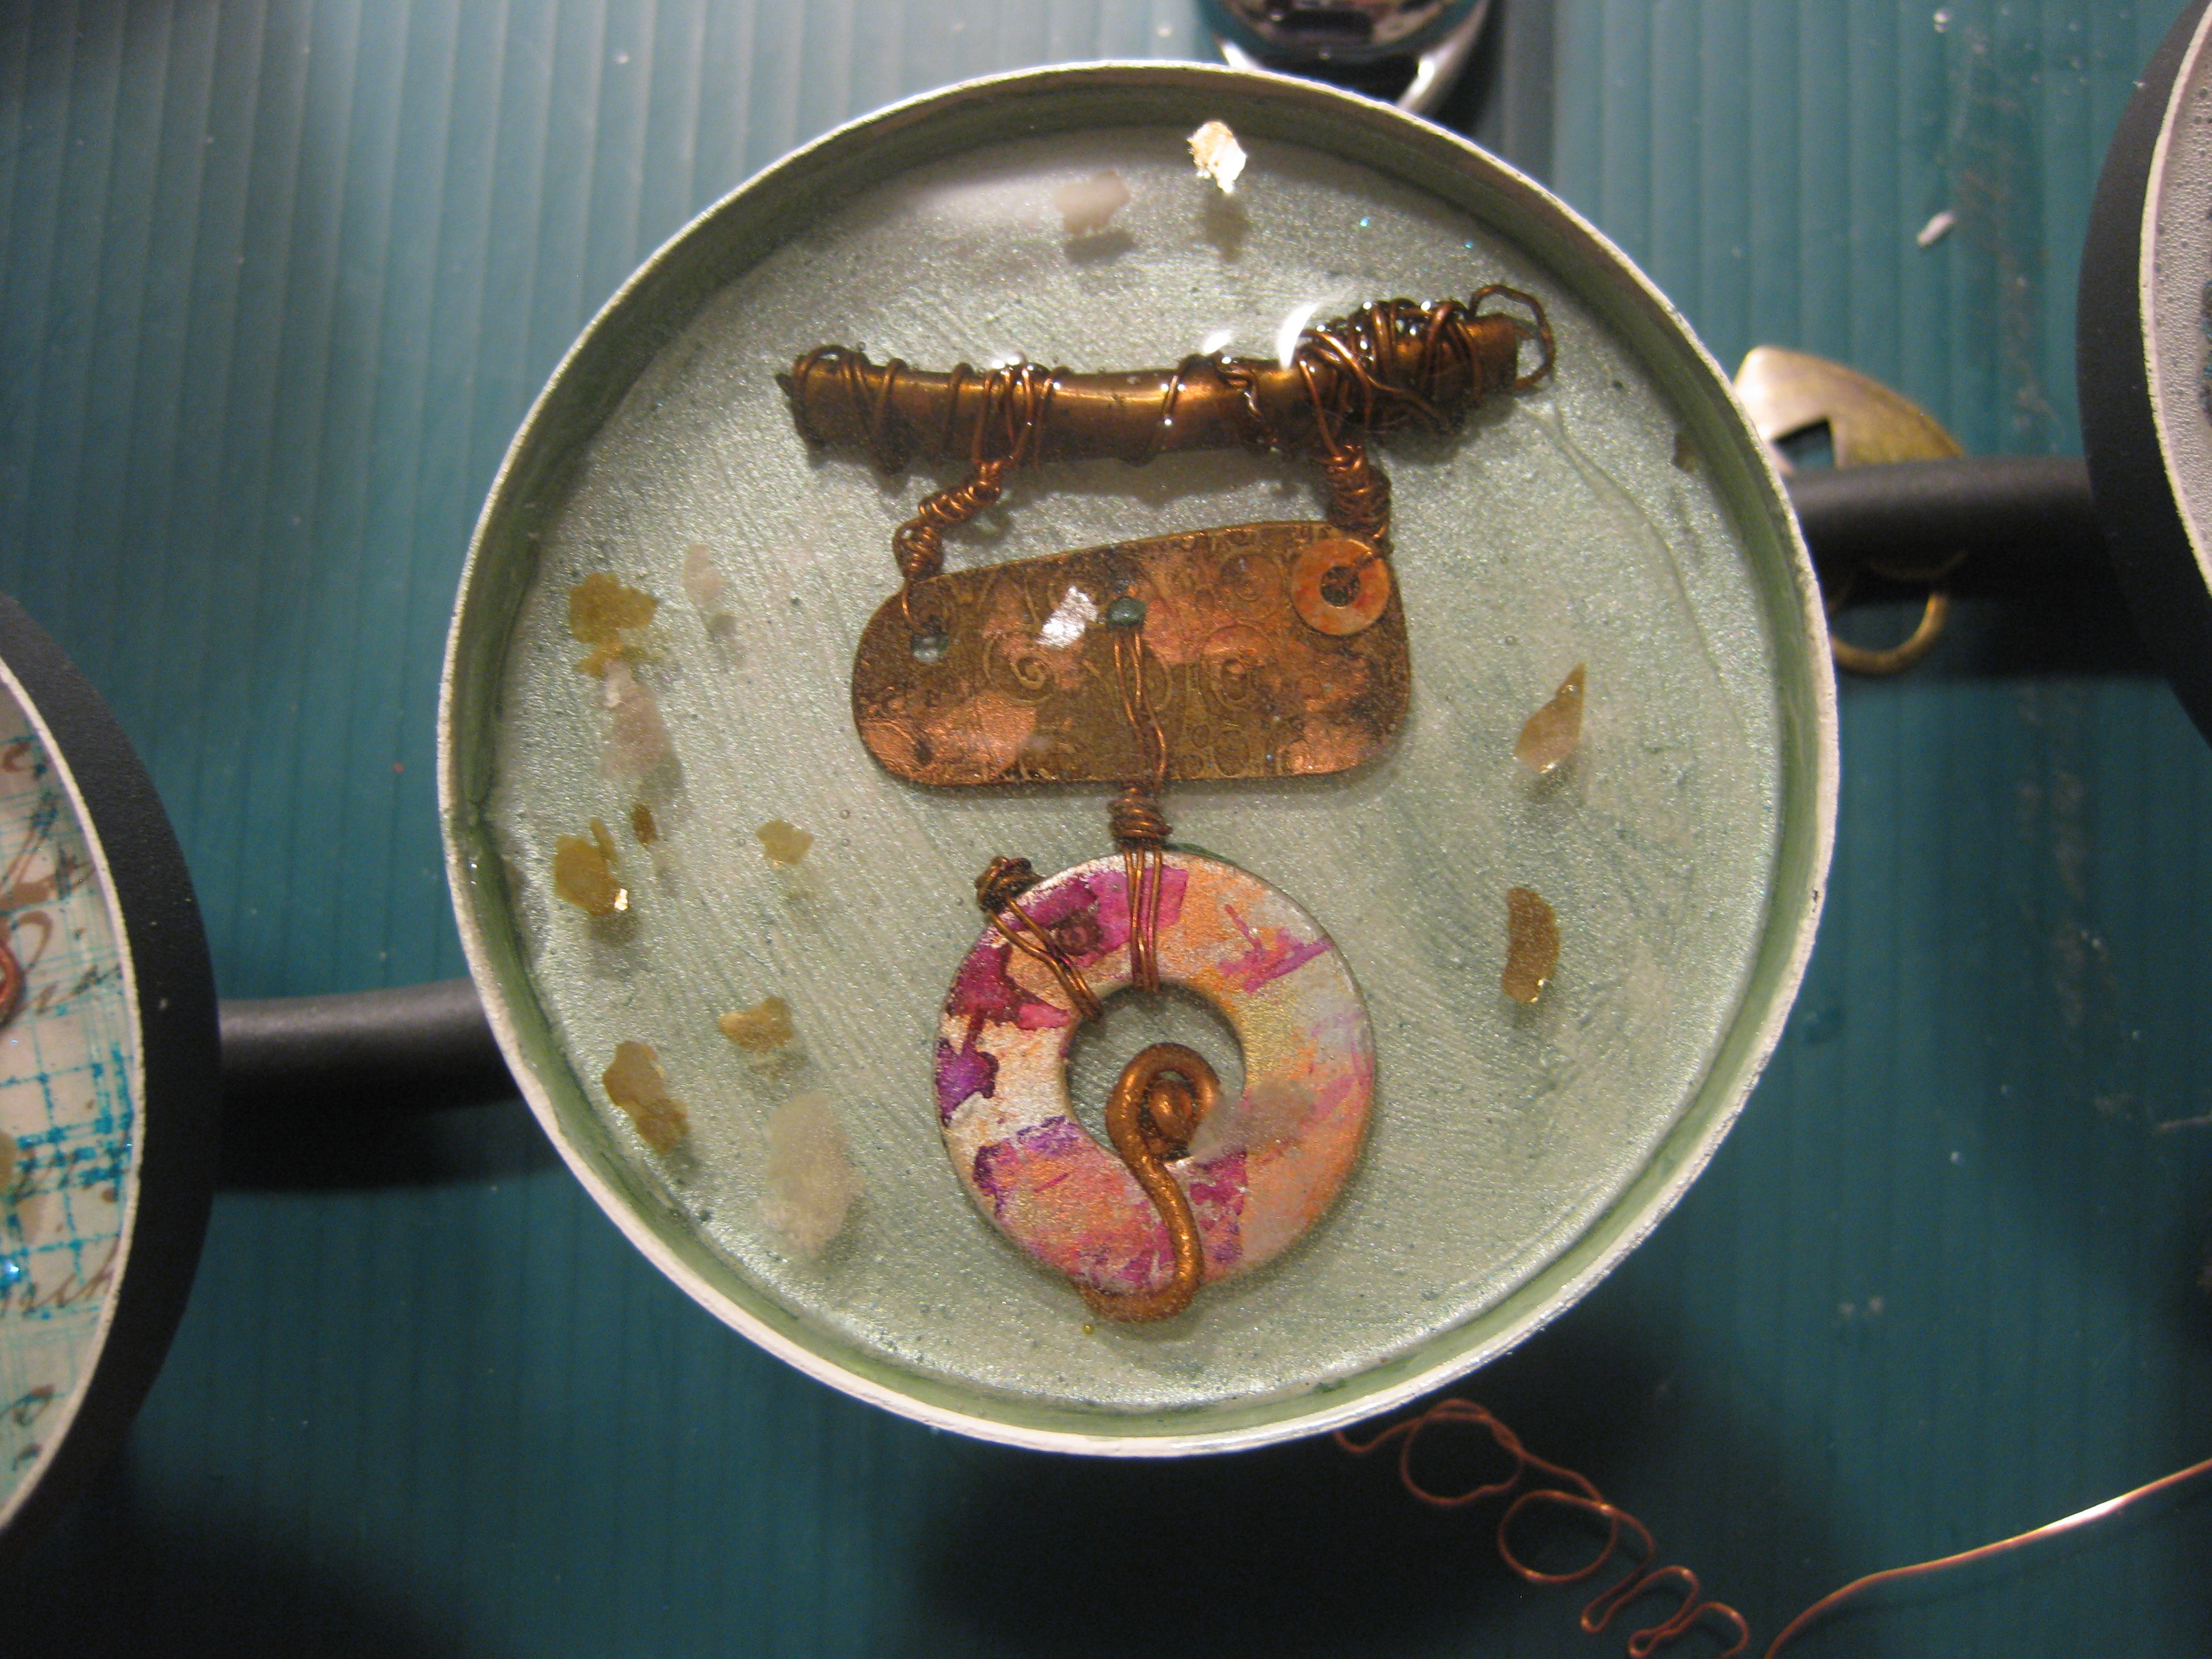
After heating the surface
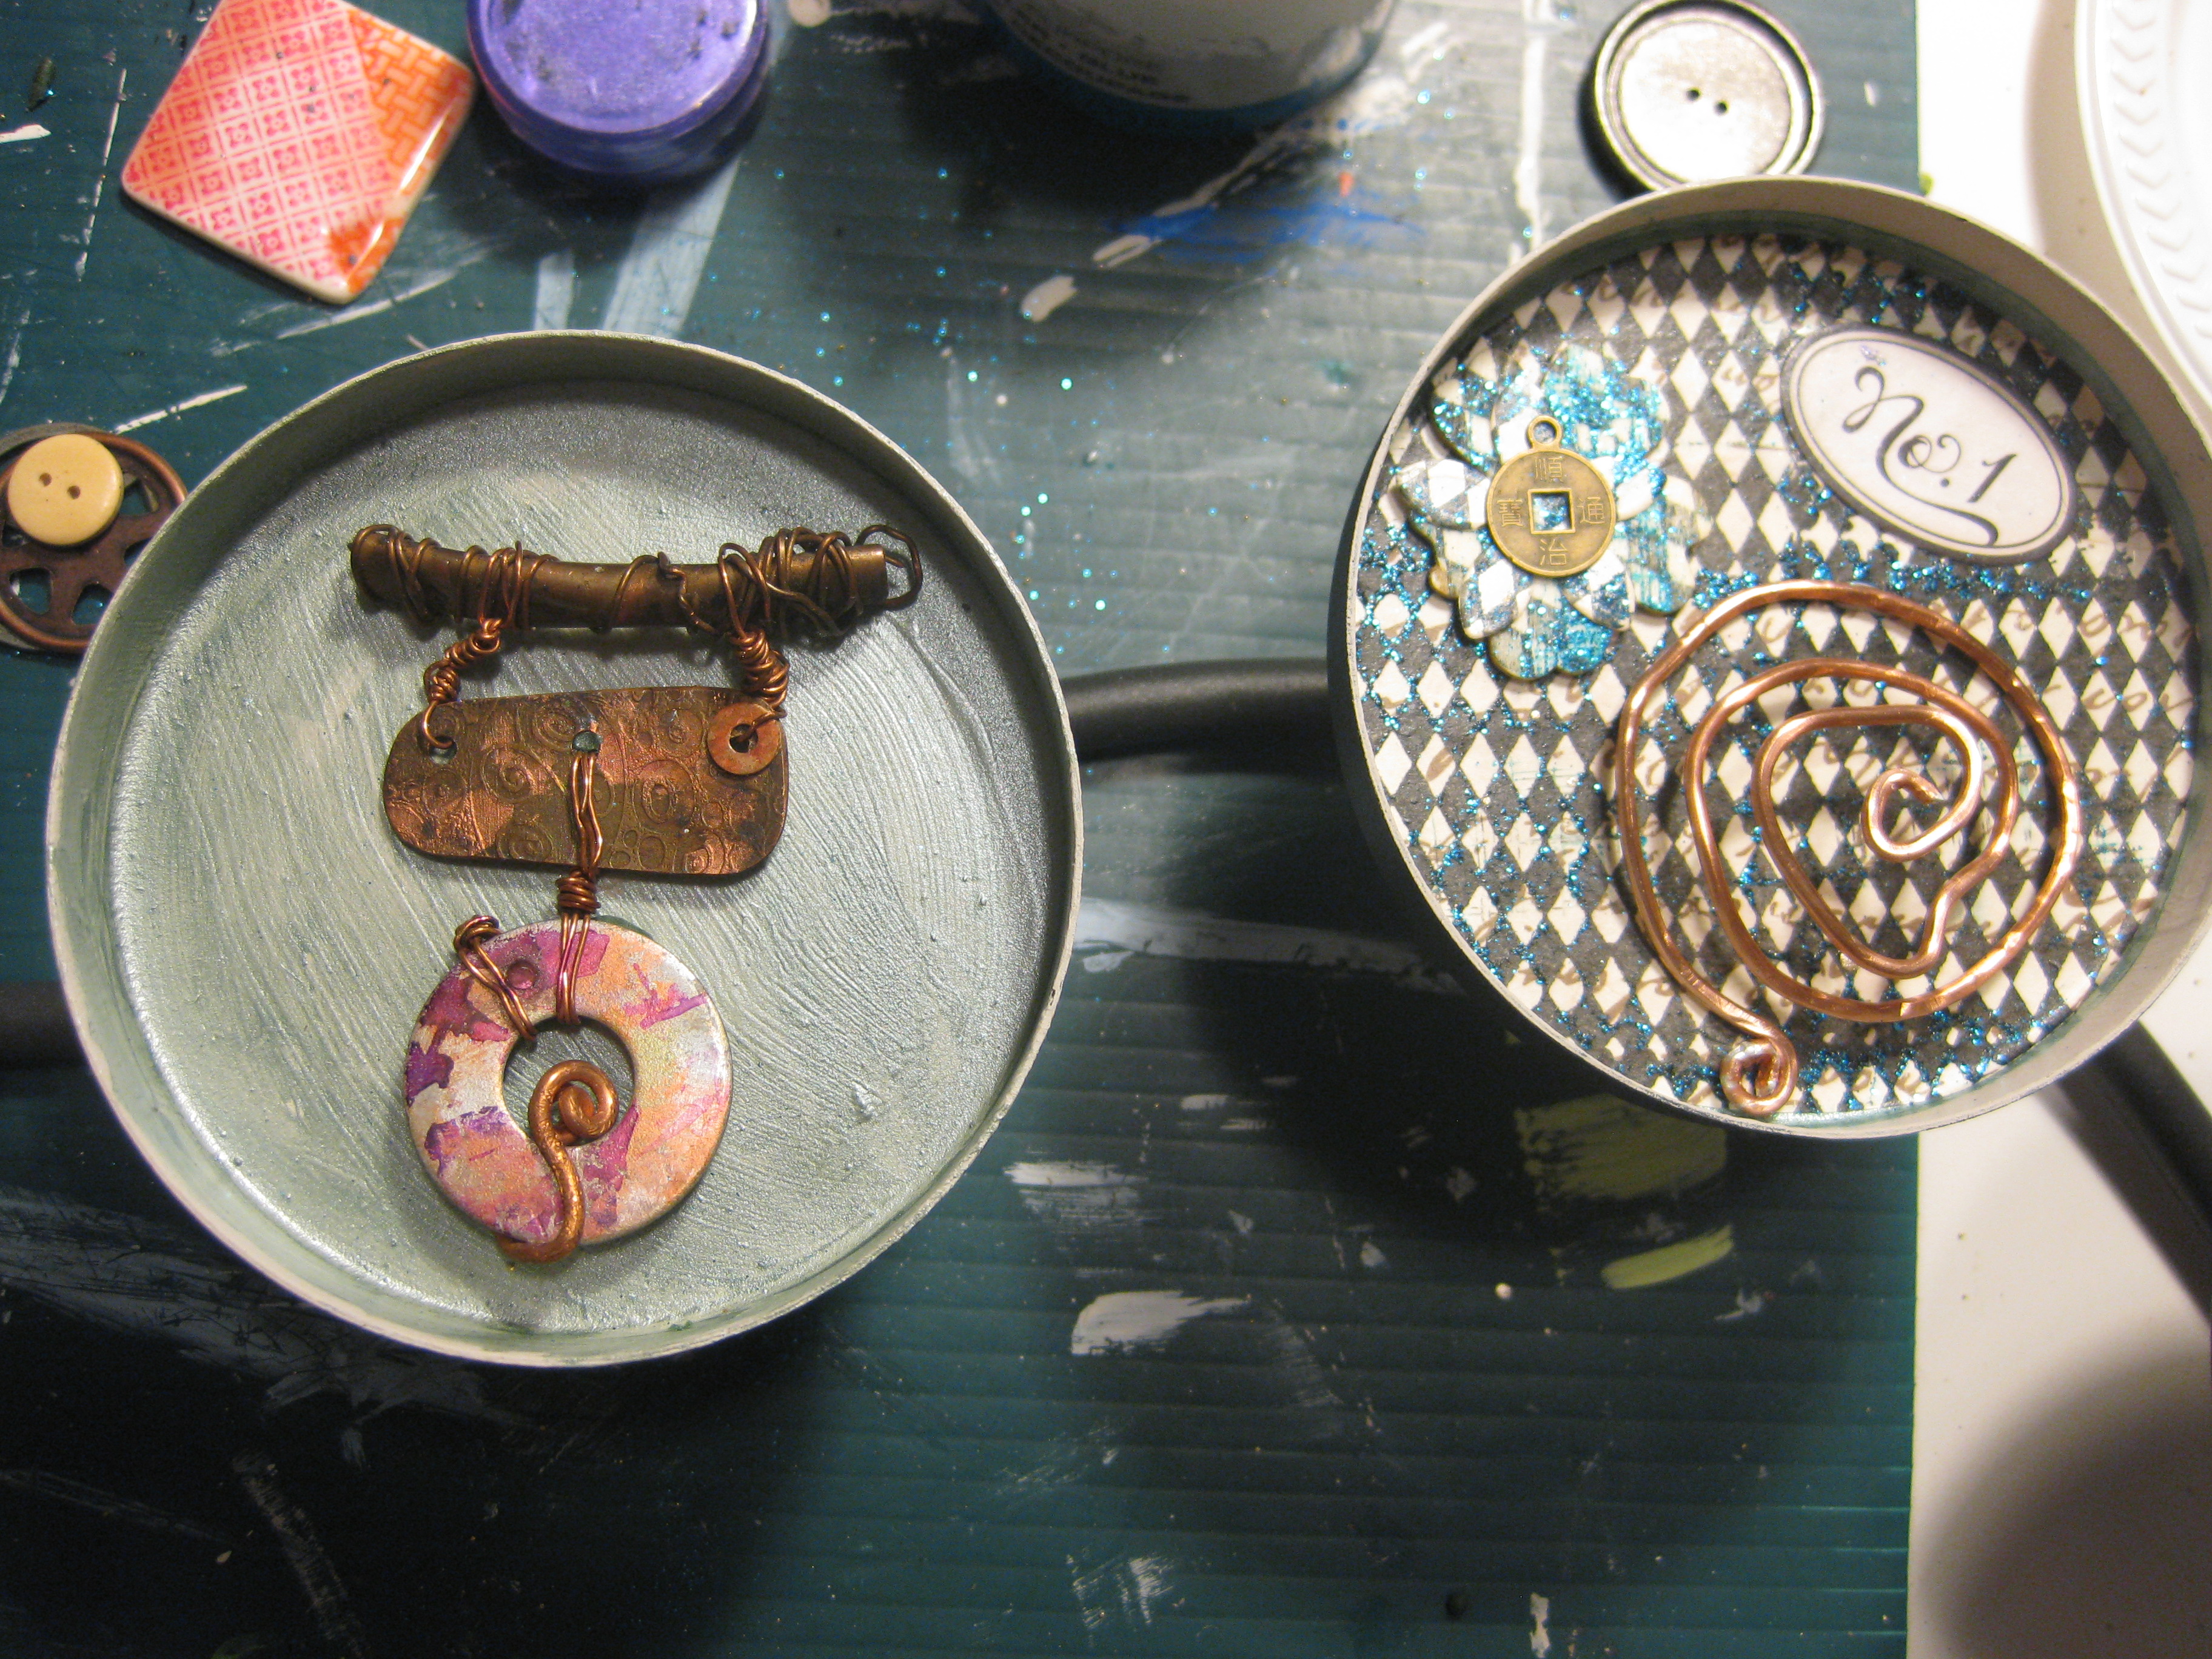
TIP:Before I began preparing to pour I used a level to make sure each of the bezels was flat.
- Use little gobs of Makins Clay® to secure your objects to the base.
- Prepare the Envirotex Lite® *I mixed a total of 8 ounces* and then pour equally into each of the bezels.
- Let the liquid sit for 10 minutes to allow air bubbles to rise, and then using a butane mini torch, swipe the flame across the surface to pop air bubbles
- After another 15 minutes, check the surface, and if necessary, destroy the bubbles.
- Wait 2 hours and then sprinkle mica flakes into the mixture
- After 4 hours you can pour more resin. Decide how high you want to pour and perhaps vary the heights for added interest.
Make sure any dimensional objects do not exceed the height of the bezel.To finish, paint the base of your piece with Chalky Finish in primitive and escape, and highlight with Iridescent aquamarine.
Add any other final touches, like glitter or embellishments.
Hang up your creation, and enjoy!


Our Cast of Characters:
Roberta Birnbaum You are HERE


No comments:
Post a Comment
It's nice to get feedback.